With most of the parts ready for assemble I didn't want to put the carbs/inlet onto the engine just yet - so I built a wooden stand to mount the inlet manifold which I could then assemble the carbs, linkage and pipes on.
I setup the needles and jets as per the manual, this is a starting point for tuning and will be fine tuned when the engine is running.
With both carbs I positioned the centre linkage and pushed them on, connected the fuel and breather pipes. Fitted blanking plate and the heater pipe temporarily.
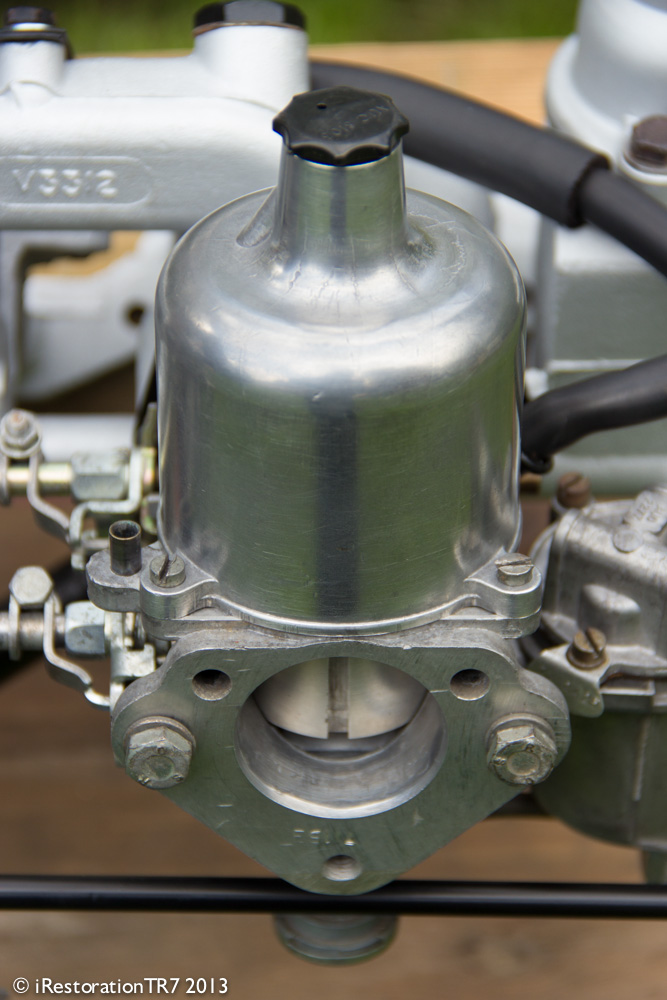
Finally had another go at polishing the suction chamber (the tops), using wet & dry and wire wool to clean the surface and some good old elbow action. Going to see if I can buy a polish disk to get that chrome look.
5hrs

This is my record of the restoration of my 1977 Triumph TR7, I bought the car in 1983 for £1500. Over the four years of driving it I had got married, moved to a 110 year old cottage in need of renovation and given a new company car. The TR was parked in the garage (1987) at the end of the garden. I always joked saying "that one day I put it back on the road". Twenty-four years later (Nov 2011) that day has arrived - wish me luck.
Showing posts with label Inlet manifold. Show all posts
Friday, April 26, 2013
Sunday, March 10, 2013
Inlet manifold...
Next item in the parts box was the inlet manifold - removed the blanking plate, plug and non-return valve (brake servo) and power washed it.
After giving it a good soak in degrease and power washing all the waterways. I noticed on the inlet hole on the carb side was a small lip where the original machining hadn't gone deep enough. So with a half round file I removed it to allow better flow (maybe?).
Then I finished off with a couple of coats of high temp aluminium paint.
3hrs
Monday, December 31, 2012
Engine breakdown... pt4
With the inlet manifold off I had access to the water pump. Removing the three bolts and a couple gently taps with my hide hammer to split the joint the cover lifted away, then using a spanner I turned the pump clockwise it lifted out.
At each stage today I've been cleaning off the old gaskets and bagging the items up with the bolts, washers and brackets etc.
I will need to check the pump is ok and overhaul if required.
30 mins
At each stage today I've been cleaning off the old gaskets and bagging the items up with the bolts, washers and brackets etc.
I will need to check the pump is ok and overhaul if required.
30 mins
Engine breakdown... pt3
Next the Inlet manifold. Six bolts to undone but one difficult to get to. The gap was to small for my sockets, so I used a 1/2" spanner with a extension bar. I then removed the steel water heater pipe from the underside allowing me to carefully lift it away from the head and water pump.
30 mims
30 mims
Subscribe to:
Posts (Atom)