Off with it's HEAD!
Having read my TR7 repair manual a couple of times, I started by removing the camshaft cover and unbolting the timing chain top sprocket from the camshaft.
Then I started loosening the cylinder nuts and bolts in the order from the manual. After removing the nuts I used my large bladed screw driver and adjustable spanner to remove the studs, but the two outer studs wouldn't undone.
Using my hide hammer I hit around the flange to break the seal. With the two studs still in place this made it very difficult to lift and the timing chain was also rubbing on the casting. After some gently persuasion (not) the head lifted off.
I was pleased to see very little water corrosion to the aluminium head - after having a couple of conversations other TR7 owners who's cylinder heads had been badly damaged.
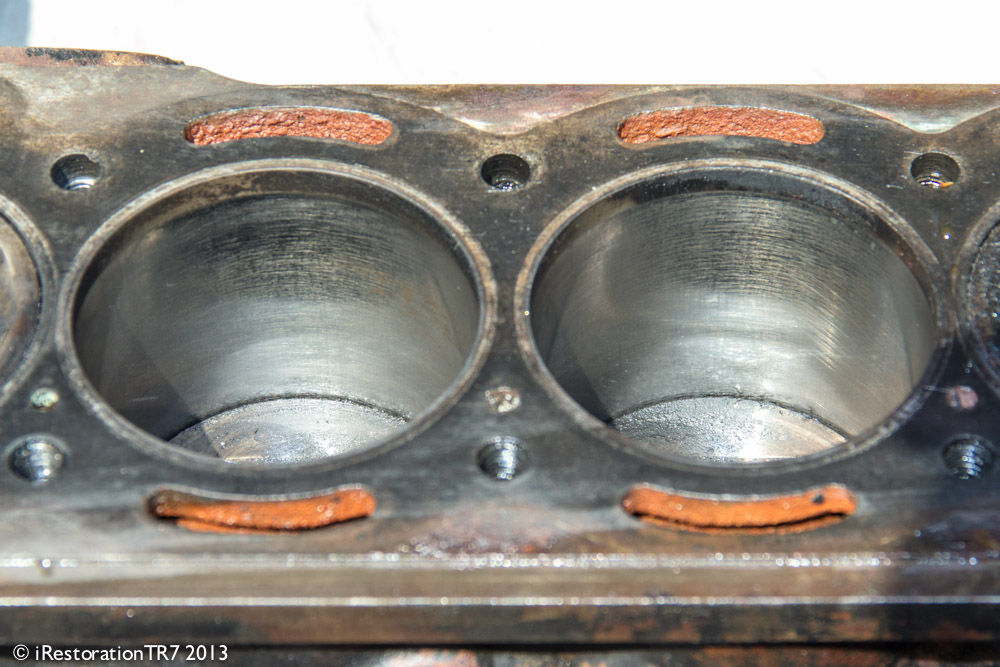
A quick visual inspection of the bores also looked good, the block and crank were replaced back in 1985 due to a thrust washers failure.
3.5 hrs