A box of goodies turned up last week - one Inner flitch repair panel and WKC2449P (repro) full Inner front wheel arch.
The Inner wing arch turned out to be a very poor fit panel - I've since found lots of talk about these panels on forums. After a couple of hours spent trying to fit it with damaging, I gave up.
I spoke to the supplier who's now given me a full refund - now need to find a better quality panel.
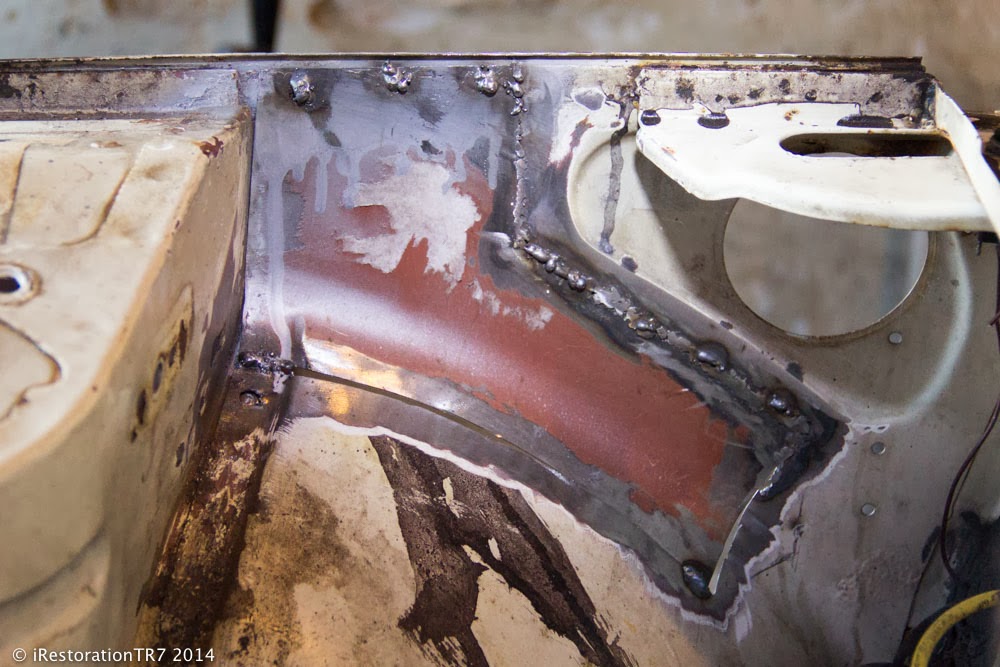
The rust area on the flitch panel needs repairing and as its visable within the engine bay I decided on a repair panel that I would butt weld in place rather than used as a patch.
I started by trimming down the panel to the rough area I wanted, then cutting out the rusty section and fitting the trimmed panel. Weld tacked it in place and with further tweaking and welding should look ok.
6hrs