Sunday, April 14, 2013

Oil pump sorted...

I had been thinking about replacing my oil pump, but with a second one from the donor I decided to see if this could save some money.

I used parts from both to build one within the data spec from the manual - I do need a couple of O rings for the internal rotor and the relief valve. I'm also going to replacing the drive spindle as these are both worn but £50 saved!

3hrs


Water pipe...

After removing and cleaning the donor water pipe which connects the heater to the water pump via the inlet manifold (under the carbs). I prepped it with Kurust and then a coat of black satin.

The following photos show some the corrosion on my old pipe.

2hrs


Tuesday, April 9, 2013

Donor stripping...

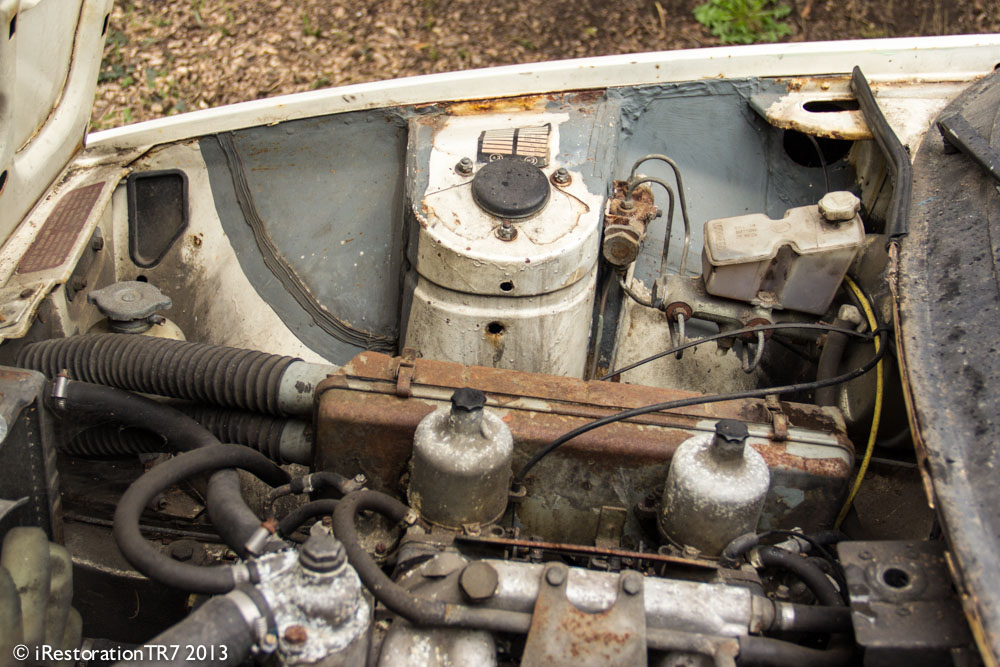
Two parts I wanted off the donor car - the water pipe from the heater to the water pump/inlet manifold and the water pump.

My water pipe is corroded with small pin holes around where the hoses finished - and the water pump that I had dropped smashing the impeller.

I started by removing the air filter box, fuel line, linkage and draining the water. Unbolted the inlet manifold with carbs in place, then stripped off the water pipe and removed the cover to the pump.

Another 12 vane pump which means I can use my cleaned and painted cover - my water pump just lifted out but this one didn't want to budge.

The workshop manual shows a special tool which screws into the top with a heavy weight and rod to slide and pull it out. So a bit like Blue Peter with some old stud, a weight and metal strips I fashioned my special tool. Worked like a dream.

I cleaned up the water pipe and gave it a coat of Kurust, the water pump is boxed in bubble wrap!

4hrs

Sunday, April 7, 2013

Drivers seat trim...

I was keen to remove the passenger seat from donor car to see what the colour match was like.

Depending on the match, it could be a straight swop or use it to repair - the black/red check of my seat hadn't seen the light of day for many years under the covers in the garage.

The donor seat looks faded to me, so I'm going to try cleaning it first to see if it brings the colour up.

If not, use the front side panels, sides, back vinyl panels and get my centre stitched in. Sounds easy but I'm sure it won't be.

[Left - Original and Right - Donor]

1hr


Engine rebuild pt3...

Replacement con rod cap bolts arrived Saturday morning - so I cleaned and oiled up all the bits and refitted pistons 1 and 4 with new bolts and torqued them up to
45 Ibs ft without any problems.

Fitting two of the cylinder head bolts into block as guilds, cleaned the surfaces and fitted the head gasket and head - tightening the nuts and bolts in the correct order.

After positioning the crank back to TDC on 1 and 4, I started fitting the timing chain and gear assembly. I will refit the original chain tensioner and check to see if it needs replacing.

3hrs


Friday, April 5, 2013

Donor car purchased...

On arriving and getting the paperwork done, I started by pumping up the tyres - the backs were low and the fronts flat.

With my brother-in-law Steve, we tried pushing the TR out of the garage but one of rear wheels was seized. Using my car we pulled the car out and spent about 30 minutes trying to remove the brake drum  - finally after a lot of hammering the drum pulled off. Didn't bother putting it back on just refitted the wheel to the hub!

Using the trailer wench we loaded the car and set off for home - I followed in my car for the 60 miles journey only stopping for petrol and checking the straps. Interestedly the TR had it's photo taken twice on the way back by passing cars - keep an eye out for them.

As we approached the Godstone junction another 4x4 and trailer passed us with a nice dark blue AC Cobra - I was tempted to drive on and follow it home, but no!

We dropped the car off at the bottom of the driveway and the following day using a winch I pulled the car up and through the gates and back into a space in the garden I had recently cleared.

Lots of good parts to play with, sadly the radiator has a large circular dent in it which will show as I intend to remove the fan/viscous coupling and pulley assembly when refitting a Kenlowe kit. The rad looks like a newer replacement so if need to get my original repaired I could do this one.

The passengers' seat back is unmarked and if the red/black check matches mine it will be great replacement for my split driver seat, if not the black vinyl panel can be used to repair it.

6hrs


Monday, April 1, 2013

Engine rebuild pt2...

Oh the joys of restoration - crankshaft caps bolts torqued to 65 Ibs ft and then the big end caps - tighten them by hand first and with the torqued wench to 45 Ibs ft. Pistons 2 and 3 were fine but a couple of nuts on 1 and 4 didn't seem to be getting there.

I undone both to see if the treads were stripping but both looked ok, so started again and snap! With one bolt broken and the other with a hairline fracture - new nuts and bolts to order.

So with that setback and my finger getting colder, I continued with fitting the jackshaft in to the block and camshaft to the head.

3hrs